Overview of the 3 Level ZZ Semafor Indicator
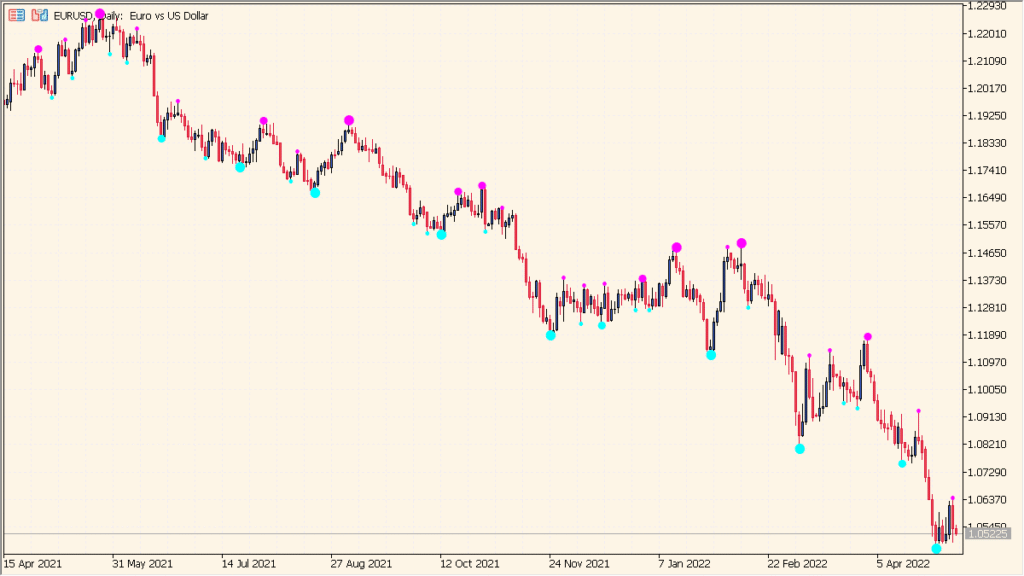
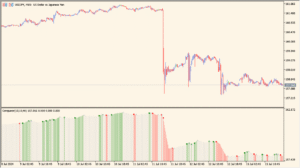
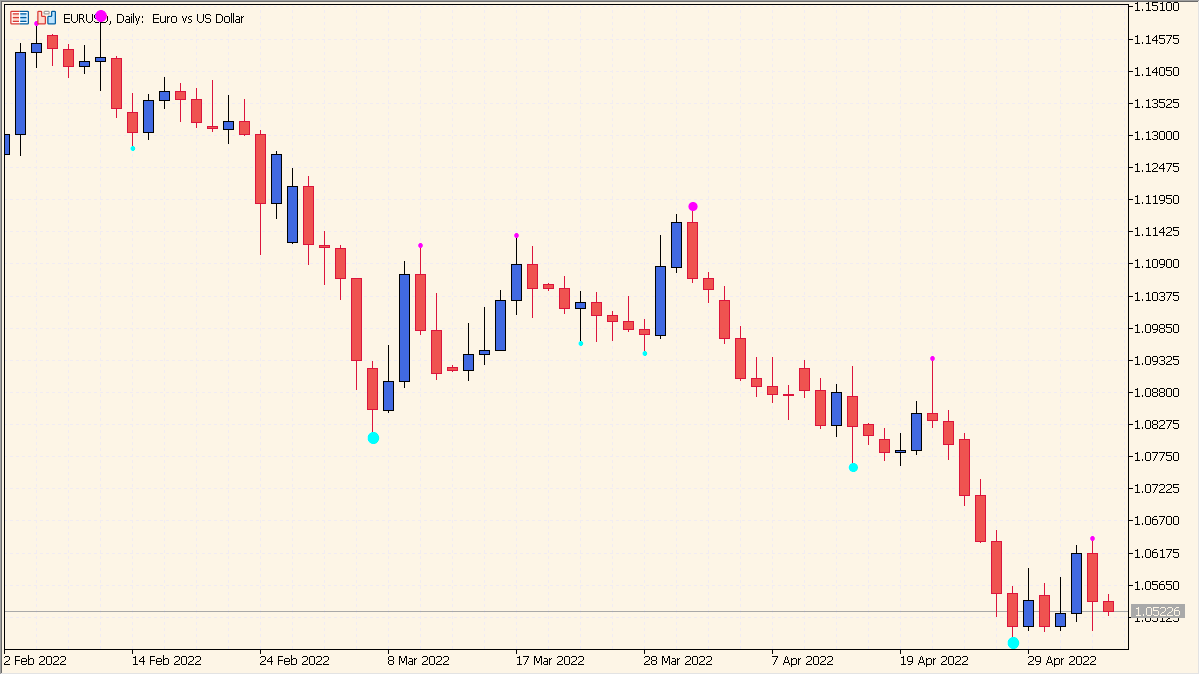
The 3 Level ZZ Semafor indicator identifies potential swing highs and lows in the market using three levels of significance. It plots colored dots on the chart, with each level representing different time or price scales. Smaller dots mark minor swings, while larger dots indicate stronger reversal points. This helps traders visually recognize possible turning points or zones of exhaustion.
It works by combining multiple ZigZag calculations with varying period and deviation settings, producing a layered signal system. The indicator does not repaint in real-time but may adjust past points as new highs or lows form.
How to Use It in Practice

In trading practice, the 3 Level ZZ Semafor can be used to:
- Identify potential reversal zones or swing points in any timeframe.
- Confirm support and resistance areas when used with other indicators.
- Filter entry and exit signals by focusing on the larger semafor dots (level 3).
- Analyze market structure and swing patterns more clearly.
This indicator is often used in combination with trend tools or oscillators to enhance the accuracy of entry timing and to avoid false reversals on smaller levels.
Parameter Explanations
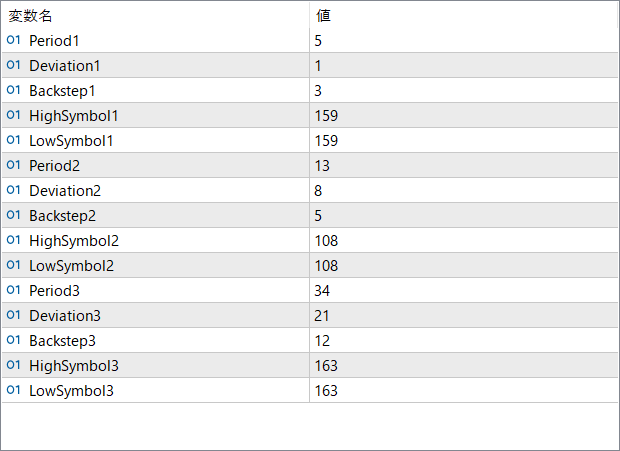
Period1
Defines the sensitivity of the first (smallest) ZigZag level. Smaller values make it detect shorter swings.
Deviation1
Sets how much price must move before a new swing is formed for the first level.
Backstep1
Determines the minimum number of bars between two swing points for the first level.
HighSymbol1 / LowSymbol1
Defines the visual symbol used for plotting the first-level high and low dots.
Period2
Sets the period for the second-level ZigZag calculation. It detects medium swings.
Deviation2
Controls how far the price must deviate to confirm a swing for level two.
Backstep2
Defines the minimum candle spacing between two swing points for level two.
HighSymbol2 / LowSymbol2
Visual symbols for the second-level swing highs and lows, typically drawn larger than level 1.
Period3
Defines the sensitivity for the third (largest) ZigZag level, used to highlight major swing points.
Deviation3
Sets the required price movement to confirm a major swing for level three.
Backstep3
Specifies the minimum bar distance between large semafor points to reduce noise.
HighSymbol3 / LowSymbol3
Symbols for the third-level high and low points, marking key reversals or long-term extremes.